After hemming thousands of jeans over my 15-year career as a professional tailor, I’ve discovered that learning to hem your own jeans is one of the most valuable sewing skills you can master. Not only does it save money on alterations, but it also ensures your jeans fit perfectly every time.
Key Takeaways
- Original Hem Method: Best for preserving the factory finish and authentic look
- New Hem Method: Ideal when you want a fresh, clean hem or need to remove damaged areas
- Hand Hemming: Perfect for those without sewing machines or for emergency fixes
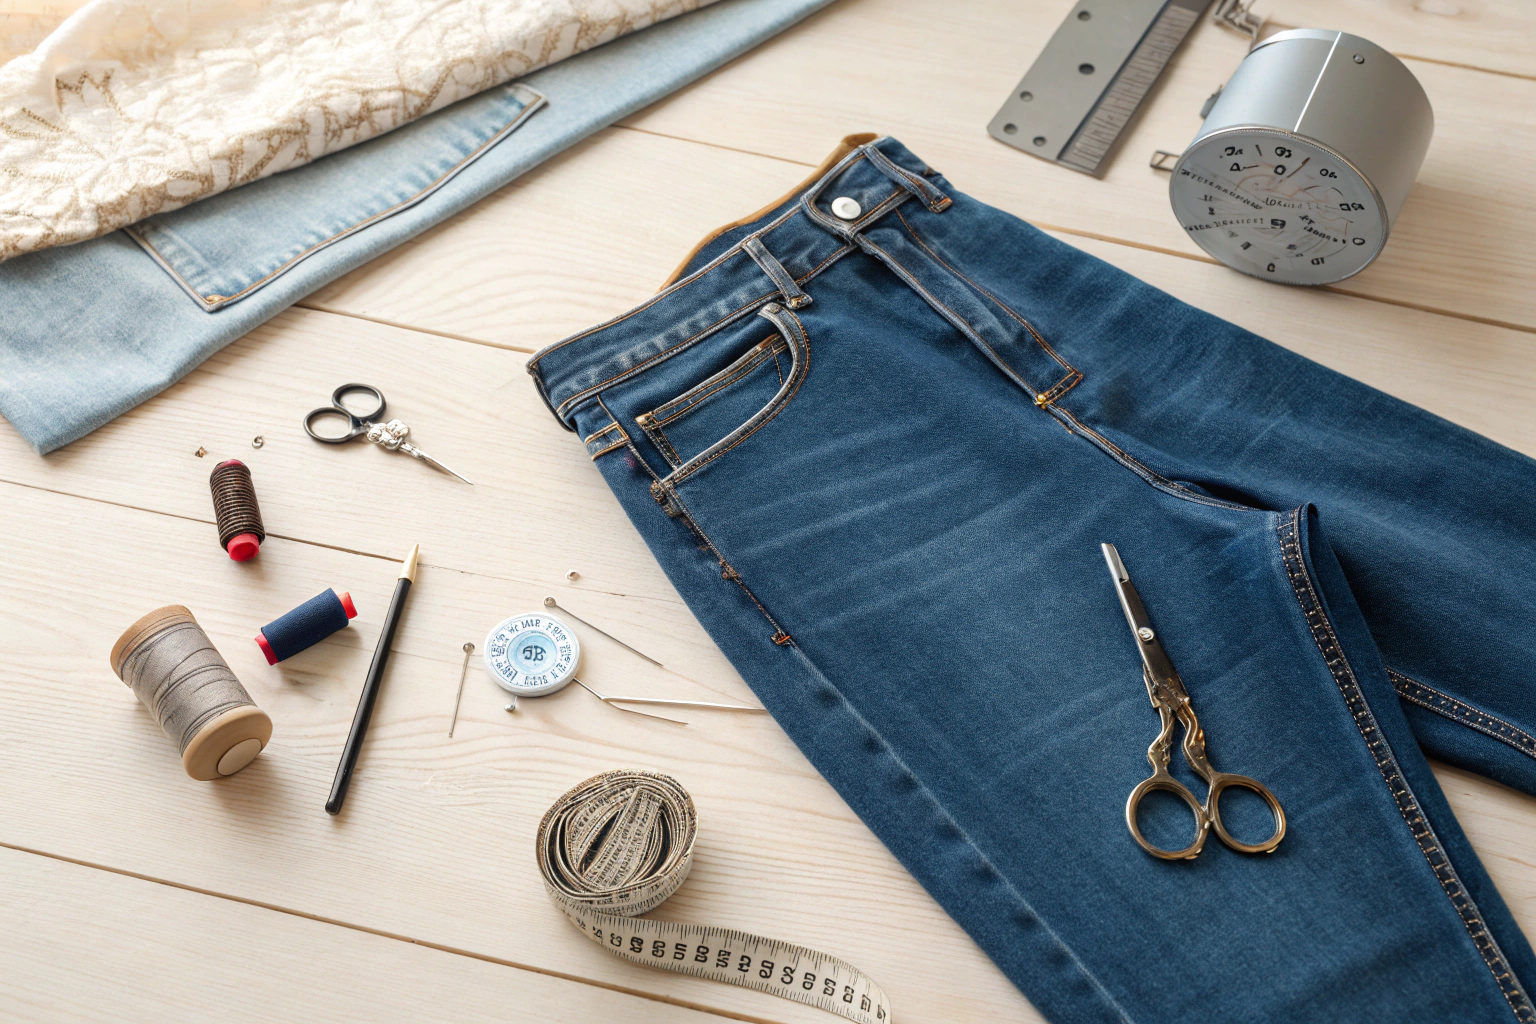
Tools You’ll Need for Hemming Jeans
Having the right tools makes all the difference between a professional-looking hem and an amateur attempt. In my professional work, I rely on specific tools that ensure consistent, high-quality results every time.
Essential Tools:
- Fabric scissors: Sharp scissors designed for cutting denim – I personally use Gingher 8″ dressmaker shears
- Measuring tape: Flexible tape measure for accurate length measurements
- Pins: Glass head pins that won’t melt under the iron
- Chalk or fabric marker: For marking cut lines and fold lines
- Iron: Essential for pressing crisp hems and professional finishing
- Thread: High-quality thread that matches your jeans
Optional but Helpful Tools:
- Sewing machine: Makes the job faster and more durable
- Seam ripper: For correcting mistakes or removing old hems
- Hem gauge: Ensures consistent hem allowance
- Heavy-duty needles: Size 16 or 18 for hand sewing through thick denim
How to Hem Jeans With Original Hem
This technique is my most-requested alteration method because it preserves the authentic factory finish that clients love. The original hem maintains the same distressing, fading, and topstitching that gives jeans their character.
The key to this method is creating a tuck above the original hem rather than cutting it off. This approach works exceptionally well for premium denim where maintaining the original aesthetic is crucial.
- Put on your jeans with the shoes you’ll typically wear
- Mark your desired length with chalk, adding 1/2 inch for the fold
- Remove jeans and measure the excess fabric above your mark
- Fold the excess fabric up inside the leg, creating a tuck
- Press the fold line with your iron
- Stitch along the original hem line to secure the tuck
| Method | Pros | Cons | Best For |
|---|---|---|---|
| Original Hem | Preserves factory finish, authentic look | Limited shortening amount, bulkier hem | Premium denim, minimal alterations |
| New Hem | Clean finish, unlimited shortening | Loses original character, requires more skill | Basic jeans, significant length reduction |
Measuring Correctly for the Perfect Length
Proper measuring is where most DIY attempts go wrong. In my professional practice, I’ve developed a technique that accounts for different shoe heights and jean styles while preventing common fitting mistakes.
Always measure while wearing the jeans with your typical shoes. The hem should just graze the top of your shoe heel, creating a slight break in the fabric. For skinny jeans, aim for no break, while bootcut styles look best with a slight break.
- Stand naturally with your weight evenly distributed
- Have someone mark the desired length with chalk
- Add 1-2 inches for hem allowance (depending on your chosen method)
- Mark this measurement around the entire leg circumference
- Double-check measurements before cutting
Pro tip: Always account for shrinkage by adding an extra 1/4 inch to your measurements, especially with raw denim that hasn’t been pre-washed.
Machine Sewing the Original Hem
When using a sewing machine for the original hem method, proper settings and technique ensure professional results. I use a straight stitch with a length of 3.0mm and heavy-duty thread that matches the original topstitching.
The key challenge is sewing through multiple layers of denim, especially at the side seams where fabric thickness can cause needle breakage. I recommend using a denim needle (size 16 or 18) and sewing slowly through thick areas.
Machine Settings and Tips:
- Stitch length: 3.0mm for durability
- Thread tension: Slightly reduced to prevent puckering
- Presser foot: Use a denim foot or zipper foot for thick seams
- Needle: Heavy-duty denim needle, size 16-18
- Speed: Sew slowly through thick areas to prevent needle breakage
How to Hem Jeans By Creating a New Hem
Creating a new hem gives you unlimited shortening capability and produces a clean, professional finish. I recommend this method when clients need significant length reduction or when the original hem is damaged.
This technique requires more skill than preserving the original hem, but it offers greater flexibility in achieving the perfect length. The key is matching the original topstitching pattern and thread color for an authentic look.
- Mark your desired length plus 2 inches for hem allowance
- Cut along the marked line with sharp fabric scissors
- Fold the hem allowance up to your desired length
- Press the fold with an iron for a crisp edge
- Topstitch using thread that matches the original stitching
- Trim excess fabric close to the stitching line
The beauty of this method is that you can customize the hem width and create different finishing styles, from a simple single-fold hem to a more complex double-fold with contrasting thread.
Matching Thread Color and Stitch Style
Achieving a professional look depends heavily on matching the original thread color and stitch pattern. In my thread collection, I maintain over 50 different shades specifically for denim work, including various blue tones, gold, and contrast colors.
Most jean manufacturers use contrasting topstitching thread in gold or orange tones. The key is finding thread that complements rather than exactly matches the denim color. I often blend two thread colors in my machine – one in the needle and another in the bobbin – to achieve the perfect match.
Common Stitch Styles by Brand:
- Levi’s: Single row of contrasting topstitching, usually gold
- Wrangler: Double row of topstitching in matching thread
- Premium brands: Often use chain stitch or specialized overlock stitching
How to Hem Jeans By Hand (No Sewing Machine Needed)
Hand hemming is a valuable skill that I still use in my professional work, particularly for delicate vintage jeans or when working with heavily distressed denim. The process takes longer but offers complete control over stitch placement and tension.
I teach this method to clients who travel frequently and need emergency alterations on the road. With practice, a hand-hemmed jean can look nearly identical to machine stitching.
- Prepare your hem using the same measuring and marking techniques
- Thread a heavy-duty needle with strong thread, doubled for durability
- Use a backstitch for strength, keeping stitches small and even
- Work from right to left, catching only a few threads of the front fabric
- Keep consistent stitch spacing – approximately 8-10 stitches per inch
The backstitch provides the strength needed for denim while remaining nearly invisible from the front. Take your time and maintain consistent tension throughout the hemming process.
Hemming Different Jean Styles
Each jean style presents unique challenges that require adapted techniques. In my experience, skinny jeans are the most forgiving for beginners, while bootcut and flared styles require more advanced skills to maintain the proper leg shape.
Bootcut jeans need special attention at the hem to preserve the subtle flare, while wide-leg styles often require tapering adjustments in addition to length changes. I’ve worked with every major brand and learned that each has specific construction details that affect the hemming process.
| Jean Style | Hemming Technique | Special Considerations | Difficulty Level |
|---|---|---|---|
| Skinny | Standard hem, original or new | Minimal bulk, easy to handle | Beginner |
| Straight Leg | Any method works well | Most versatile for practice | Beginner |
| Bootcut | Preserve leg shape, careful measuring | Must maintain flare proportions | Intermediate |
| Flared/Wide Leg | Often requires professional alteration | Complex shaping, potential tapering needed | Advanced |
How to Hem Jeans With Sewing Machine for Beginners
I developed this simplified approach after teaching hemming workshops and observing common beginner anxieties. The key is starting with basic, straight-leg jeans and focusing on one technique until it becomes second nature.
Many of my workshop students successfully hem their first pair of jeans using this method. The secret is taking your time, double-checking measurements, and not being afraid to remove stitches if something doesn’t look right.
- Start with an old pair of jeans for practice
- Use the new hem method for simplicity
- Keep your hem allowance generous (2 inches) for forgiveness
- Use a straight stitch and sew slowly
- Press each step thoroughly for professional results
Beginner-Friendly Tips:
- Practice on scrap denim first
- Use contrasting thread for your first attempt to see your stitches clearly
- Keep a seam ripper handy for corrections
- Focus on straight lines rather than perfect thread matching initially
Common Mistakes to Avoid When Hemming Jeans
Over the years, I’ve seen countless DIY hemming attempts that required professional correction. The most common mistake is inadequate measuring, followed by using dull scissors that create ragged edges and poor thread choices that make alterations obvious.
One particularly challenging repair involved a client who had cut their expensive designer jeans too short and tried to add fabric back. While possible, it’s always better to measure twice and cut once.
Top Mistakes and Solutions:
- Cutting too short: Always add extra hem allowance for safety
- Using dull scissors: Invest in quality fabric scissors and keep them sharp
- Skipping the press: Pressing creates professional-looking creases and helps fabric lay flat
- Wrong thread choice: Take time to match thread color and weight properly
- Inconsistent hem width: Use a hem gauge or ruler to maintain consistent measurements
Hemming Jeans for Different Heel Heights
This is one of the most frequent challenges my clients face – they want one pair of jeans to work with both flats and heels. My “sweet spot” technique involves finding a length that works reasonably well with both shoe types.
The ideal length should allow the jeans to just touch the top of a flat shoe while creating a slight break when worn with a 1-2 inch heel. This compromise works for most casual and business casual situations.
Preserving Distressed Hems When Hemming
Working with pre-distressed jeans requires special techniques to maintain the authentic worn appearance. I’ve developed methods for preserving existing distressing and even recreating it when necessary for high-end designer pieces.
The key is understanding that distressing is part of the jean’s design aesthetic, not damage to be repaired. When shortening distressed jeans, I often transfer some of the original distressing to the new hem location to maintain the intended look.
For recreating distressed effects, I use fine-grit sandpaper, pumice stones, and even carefully controlled bleaching techniques. The goal is always to make the alteration invisible while preserving the jean’s original character.
Conclusion
Mastering the art of hemming jeans opens up a world of perfectly fitting denim and significant savings on alterations. Whether you choose to preserve the original hem or create a new one, the key is practice and patience.
Start with an inexpensive pair of jeans and work your way up to your premium denim. With these professional techniques, you’ll achieve custom jean length and that coveted professional look every time.
Frequently Asked Questions
The proper way to hem jeans involves accurate measuring while wearing appropriate shoes, choosing between preserving the original hem or creating a new one, and using the right tools and techniques. Always measure twice, cut once, and press thoroughly for professional results.
To keep the original hem, measure the excess length, fold it up inside the leg to create a tuck, and stitch along the original hem line. This preserves the factory finish and authentic look while shortening the jeans to your desired length.
Essential tools include sharp fabric scissors, measuring tape, pins, chalk or fabric marker, iron, and matching thread. Optional tools like a sewing machine, seam ripper, and hem gauge make the job easier and more professional.
You can shorten jeans at home by measuring the desired length, marking with chalk, choosing either the original hem or new hem method, and carefully cutting and sewing. Start with practice jeans to build confidence before working on expensive pairs.
Common mistakes include cutting too short, using dull scissors, skipping the pressing step, choosing wrong thread colors, and maintaining inconsistent hem widths. Always double-check measurements and take your time for professional results.